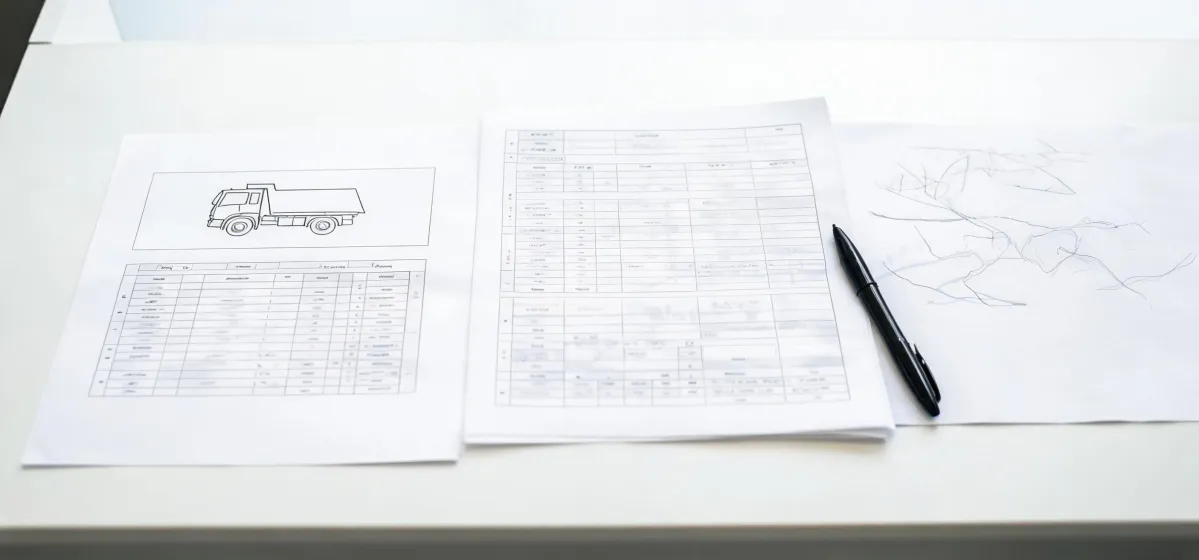
Inspect a Load King 16/18 ft dump body in this order before operation: a 360-degree walk-around to confirm the dump bed will be free of obstructions once it operates, a look at the oil sight gauge on the reservoir to confirm the tank is full and that no oil has leaked out, a visual pass over every critical fastener, and a check that all lubrication points are maintained and lubricated. If damage to the body or hardware shows up anywhere in that sequence, stop there: do not operate the truck until a thorough inspection has been carried out and the repairs it calls for are complete.
Everything below applies to that Load King 16/18 ft body and the controls supplied with it. This is a pre-operation check, not a structural-modification procedure, and the chassis manual plus the manual for the hoist actually bolted to the truck still govern their own parts.
Clear the Bed and Check the Oil
The walk-around is a full circle at ground level, not a glance from the driver's seat. Walk it and look into the bed from the rear and from both sides, confirming that the dump bed will be free of obstructions once it operates. That covers tools left on the floor, straps, frozen material stuck to the sides, and anything leaning against the tailgate.
A bed that looks empty at rest is not the same as a bed that is clear to lift. Material resting against the tailgate is inert while the truck sits level and becomes a jam or a falling hazard once the bed tips, which is a change of condition the operator causes rather than one the truck warns about.
Then check the oil sight gauge on the reservoir, to confirm the tank is full and that no oil has leaked out. Read the gauge, then look at the reservoir body and the fittings around it for wetness, because a gauge can read full while a leak sits below the fluid line. Suppose a driver skips this step because the last raise sounded normal: the hoist still has to build pressure from whatever is in the tank, and a low reading means fluid has already gone somewhere.
Inspect Critical Fasteners and Lubrication
Critical fasteners get a visual pass: bolts, nuts and other hardware, checked for loose or damaged condition. Read the hardware rather than touching every nut. A nut that no longer sits flat against its washer, hardware that has visibly moved from where it sat, rust bleeding out of a joint that used to be dry, or a gap that opened where two plates sat flush are read the same way, and any of them is a finding worth writing down.
The lubrication check applies the same judgement to grease. All lubrication points should be maintained and lubricated, which typically shows up as pins and slides that still carry grease rather than dry or polished-worn surfaces, and fittings that have been taking grease instead of refusing it.
Neither step asks the operator to re-torque or re-shim anything at the roadside. Torque values and a fastener list belong to the manual revision that matches the body serial number, and getting that revision in hand is a purchasing question rather than something to guess at during a walk-around.
Know Which Findings Stop the Truck
The gate is in the manual, not in the operator's mood at the start of a shift: if damage to the body or hardware is observed, do not operate until a thorough inspection has been conducted and all necessary repairs have been made. Everything else in this sequence is a check; this one is a stop.
What counts as damage is specific enough to recognize. A crack running out of a hinge or pivot, a bent or missing pin, hardware that turns by hand, or a panel torn away from its mounting are structural readings, not cosmetic ones. A dent in a panel that carries no load reads differently, and the operator still has to be honest about which of the two is in front of them.
Holding that line matters because the body gives no dash light. A hinge one fastener short of letting go can still raise normally, right up to the raise where it doesn't, and that raise happens with a load in the bed and someone standing nearby. Park the truck, write down what you found, and let the repair call go to whoever is qualified to make it.
Why the Check Order Is Not Arbitrary
Every item on this list points at the load path. Here's the plain version: you are not inspecting a truck for looks, you are checking whether the thing carrying the load above the frame is still sound.
The order follows dependency. The oil check comes before anyone cycles the hoist because the hoist needs fluid to build pressure, and a low reservoir means the pump is pulling air instead of oil. Fasteners matter because they carry body and hinge loads, which means a loose bolt is a load-path defect and not a housekeeping nit. Lubrication comes down to friction at pins and slides, so the hoist is not fighting a dry joint through the whole raise. The circle around the bed goes first because a bed that is not clear changes the load before any of the other three checks can mean anything.
Putting the circle first also puts the cheapest check in front. It rules out the largest failure mode before anyone reaches for the hardware, and it uses less of the driver's morning than the other three steps do.
Recheck After the Bed Has Cycled
The raise is a test the truck performs on its own structure, and some problems only surface after it. After operation, complete a 360-degree walk-around to confirm there has been no hydraulic leak during operation, then visually inspect critical components and fasteners to confirm they were not damaged or loosened during operations.
A hose that held at rest can weep under pressure and leave a wet line down the frame. A fastener can rotate slightly under the load of a full bed and still look fine from standing height. The post-cycle walk catches both while the evidence is fresh, which is why it belongs at the end of the dump and not at the start of the next shift, after the trail has dried or been rained on.
Treat that walk as the opening move of the next pre-operation check. The truck that just cycled is the truck someone is about to raise again, and what the circle showed carries straight into the decision.
Match the Manual to the Installed Hoist
The hoist under the body may not share its manual. A Valew hoist and body manual covers that manufacturer's 5/10-yard product family: always inspect the hoist and body before using the unit, and if there are signs of improper or lack of maintenance, damage to any part, or loose mounting, do not use the hoist; do not attempt your own repair unless you are specifically trained. None of that transfers onto a Load King 16/18 ft dump body, and the Load King instructions do not transfer back the other way.
What that leaves a fleet with is a paperwork question on every unit. Which manual revision matches the body on this truck, and is that revision the one in the cab? Which hoist is actually installed, and does it fall inside the product family its own manual covers? Who on staff is trained to repair it, given that the hoist manual tells the untrained operator not to try?
Those questions get answered once, at purchase, and then they get asked again every time a truck comes back from a body repair or a hoist swap. A truck that changed hands, took a replacement hoist, or came out of a shop with a rebuilt cylinder is a truck whose paperwork may no longer match its hardware.
Running the sequence every shift buys a go or no-go answer you can defend to a safety officer, an insurer, or a driver who wants to raise the bed anyway, and it costs a few minutes plus, on the day you find damage, the use of that truck until the repair is signed off. A quick look for dents and wet spots is faster, and it will pass a truck that a full walk-around would have parked.